Customize COMBO Artwork.
Set up your branded COMBO in a few guided steps: choose a housing color, add your branding to the front display, place your artwork inside the factory printing areas, and submit. No dieline experience needed.
Device
Choose the tank capacity, the housing and the mouthpiece; the approved stock colors for the housing follow.
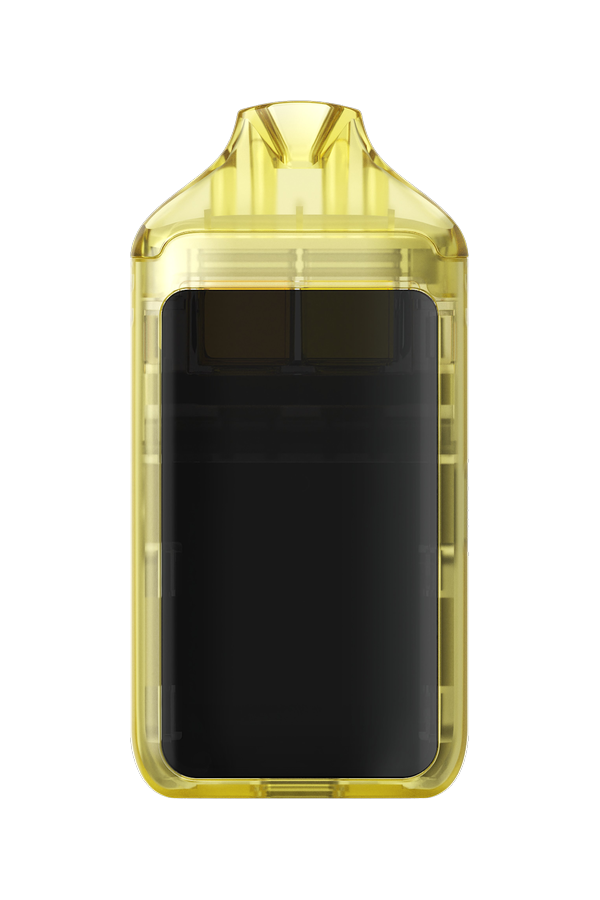
COMBO is a dual-chamber all-in-one: 2 × 1.0 mL, 38 × 17 × 78 mm, with a translucent housing and a front display. The tank configuration is fixed and is not a build option.
Device color
Choose from the approved stock colors for this body style, or request a custom Pantone match.
Enter the official Pantone reference, not a HEX value.
On-screen color is approximate. Your confirmed Pantone reference will be used for production.
Mouthpiece
Enter the official Pantone reference, not a HEX value.
The clear mouthpiece is tinted by the selected mouthpiece color.
The mouthpiece is molded in the same translucent treatment as the housing and follows the housing color.
Select a device color to continue.
LED Screen
The COMBO display always shows the factory voltage and puff-count information. You can add your own branding to the approved area above it. This is a digital display setting, separate from the physical printing on the device body: body artwork follows in the next step, and the printing method is chosen under Production.
Upload your branding, or choose No Screen Branding, to continue.
Drag your branding on the preview to position it; it snaps to the centre lines and stays inside the branding area. It can never overlap the factory information below.
The voltage and puff-count area is controlled by the factory and is not customizable.
Continue without screen branding?
Your Artwork
Each surface is set up independently; your original files are always submitted untouched.
You are setting up the back surface. Use the buttons above to switch.
The front of the COMBO is taken up by the display, so it carries no body printing. Front customization is the screen branding you set in the LED Screen step.
This surface will be submitted as intentionally undecorated: no artwork is required here.
Artwork Colors
Colors detected in the artwork you uploaded above.
Have official brand colors? Add the Pantone reference so the factory can match them precisely. This does not change your uploaded artwork.
Position Your Artwork
Use the Back / Left / Right toggle above the preview to work on each surface. Drag the artwork on the device and keep it inside the marked printing area. On the right side, keep clear of the preheat button. The marked boundaries are derived from the factory-supplied 1:1 dieline.
No artwork on this surface yet. Go to step 2 · Artwork and upload a file for this surface, or switch back to the other surface.
Choose based on your artwork. Logos and graphics require a minimum 6 × 6 mm size; text-only artwork can be as small as 1 × 1 mm.
Rear window keep-clear area. Keep artwork outside the marked window area on the back.
Production
Choose how your COMBO should be printed. This applies to the physical body; your screen branding is a separate digital customization and is never printed.
Select a printing method to continue.
Finish selections are recorded in your specification and are not simulated in the preview.
The COMBO housing is translucent, so the color is molded into the shell and Standard Molded Color is the only body finish. Printing methods are unaffected.
Remove artwork?
Selecting No Printing will remove the artwork currently added to this configuration.
Review & Submit
Check your configuration. Submitting sends PROXY a factory-ready branding specification for this build.